
Wireless routers play an important role in that they provide internet access to multiple devices within your home. Thankfully, setting up a router needn’t be a difficult process — all it takes is a little know-how.
In this post, we’ll walk you through how to set up a wireless router, covering everything from choosing the best spot for your router, connecting the hardware, configuring the router and finally connecting your devices, so you can start enjoying your new wireless internet in as little time — and with as few headaches — as possible!
How to set up a router for your home
- Check your modem for an in-built router
Many Internet Service Providers (ISP) now provide their customers with modems with built-in routers, meaning that the process of buying a wireless router, and configuring its parts, can be skipped, and you can simply focus on connecting the router. If your ISP didn’t provide you with a modem/router combo, you’ll need to connect the router and modem, as outlined in the next step.
It’s important to note that wireless routers come in a variety of shapes and sizes, it’s important to compare features to ensure you get the best type of router for your needs, taking into account such things as the area to be covered, the amount of walls in your home and your internet’s top speed.
- Connect the router to the modem
For optimal results, it’s best to place your wireless router in the centre of your home. Note though that this may not be possible, as it also needs to be in close proximity to your modem for connection.
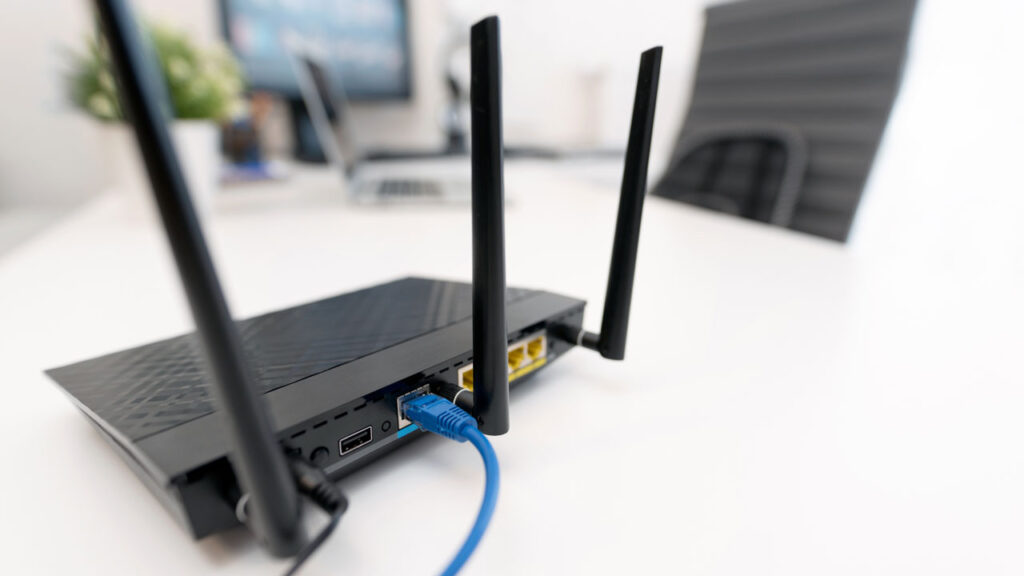
Switch the modem off, and place one end of an ethernet cable into it’s LAN (Local Area Network) port, and the other into the router’s WAN (Wide Area Network) port. Your modem may already be equipped with a cable, and the router should also have come packaged with a short ethernet cable for this purpose. Once connected, switch the modem back on, as well as the router.
- Connect the router to a computer
The next step in how to set up a router is connecting the router to your computer, also with an ethernet cable. This time, you’ll be placing one end of the cable into the router’s LAN port, and the other into the computer’s LAN or ethernet port. The router will assign an IP address to any device which is connected to its LAN port.
Note that some router manufacturers allow you to configure their routers via a smartphone app, which would negate the need to connect your router to a computer via ethernet cable. Also note that modern routers should all support 802.11n or Wireless-N standard, which is highly stable and secure, and offers the fastest speeds.
- Locate the router’s IP address
Now, it’s time to locate the IP address of your router. This may be printed on the actual router, or on documentation accompanying the router. If you’re unable to find the IP address, you can search online for the router model — this should tell you what the default address is.
IP addresses are formatted in groups of digits, separated by dots, similar to the below:
- 192.168.0.1
- 192.168.2.1
- 10.0.0.1
- Enter the IP address on your computer
Once you have your router’s IP address, open a web browser and type it in. The browser will then try to connect to the router configuration menu.
- Enter username and password details
Next, you’ll need to log into the router using the account username and password, this information should be printed either on the router or in the router’s user manual. The typical username is “admin”, while the typical passwords are “password” and “admin”, with some routers requiring only a username and a blank password, and some allowing you to leave both fields blank. Once you enter the required credentials, hit enter.
You should now take this opportunity to change the default password to a unique and secure password, and record it for later use — you will need it later to make updates or changes. If you forget the password, you’ll need to do a hardware reset, which may undo any customisations you’ve made.
- Complete the Wireless Settings
Once you’ve logged into the router, you’ll be taken to its status screen or main menu, the look of this may vary depending on the manufacturer. Unless advised otherwise by your ISP, the “Internet” section can usually be left at its default settings. The “Wireless” section is the area that will allow you to set up your new wireless network, so navigate to this section.
Here, you’ll need to enter a unique name for your wireless network — this will be in the “SSID” or “Name” field, and will be the name that other devices scanning for networks will see. You can also choose to either enable or disable SSID broadcast here. This will depend on whether you wish for the network to be seen by anyone within range, or to only those who know your network name and password.
At this point, you should also consider updating the router’s firmware, as new firmware may have been released by the manufacturer after the router was shipped to you. Although most routers do check for new firmware, it’s not always an automatic process. Check the user manual for details on how to update the firmware, and ensure you reboot the router after the update has been completed.
- Choose a security method and Wi-Fi password
Next, choose a security method, by selecting from the list of available options. For the highest level of security and protection from intruders and hackers, select WPA2-PSK as the method of encryption.
Once this has been done, it’s time to create your Wi-Fi password. Note that some routers come with a pre-assigned password — if this is the case, it may be displayed on a label on the router. If it doesn’t come with a password, and you therefore need to create one, ensure it contains a combination of letters, numbers and special characters.
- Save the settings
Once you’ve finished naming and securing your new wireless network, click “Save” or “Apply”. It will take a few moments for the changes to be applied to your router — once it’s finished resetting, the network will be enabled.
- Enjoy your new wireless internet!
If all went according to plan, you should now be able to log in to your new network with your Wi-Fi password. To connect to the wireless network on your computer, phone, tablet or other device, simply choose your network and enter the password. Enjoy!
Jim’s I.T — your local wireless setup experts
Hopefully, you now have a pretty clear idea of how to set up a Wi-Fi router. Need further help with your Wi-Fi set up, or on how to set up a wireless modem? The expert team at Jim’s I.T is here to help. With our professional Wi-Fi set up service you’ll enjoy fast speeds, high level security, and fewer headaches.
At Jim’s, we’re committed to providing smart solutions to all your I.T. issues, including computer and laptop repairs. To ensure the highest level of customer service, we offer free quotes, fixed pricing and a handy same day service. Get in touch or request a quote with our professional team today!

Tony Altun is the General Manager of Jim's IT, where he leads a nationwide network of IT professionals delivering reliable tech support, computer repairs, and business IT solutions across Australia. With a strong background in IT services, sales, and customer-focused solutions, Tony has built a reputation for driving growth while maintaining a clear focus on service quality and customer satisfaction.